Our upstairs bathroom (the kids'/guest bathroom) has been looking a little shabby lately. The flooring was a wood laminate that probably shouldn't have been put in a room as wet as a kids' bathroom can get. It was beginning to peel, especially in front of the tub and around the toilet. The vanity was really looking rough. The walls, which we painted when we bought the house, were looking blah. So we decided it was time for a remodel.
For the record, here are the before pictures:


(That basket is hiding a hole in the wall.)

The vanity had gotten wet inside, and the wood was warping pretty badly.
We really wanted to lay ceramic tile, but we weren't sure we had the know-how to do it. We were right. Fortunately, a friend told us about a tile workshop at the orange home repair store in Lexington, and we attended. We left sure we would not be laying tile in our bathroom. Then we found ceramic tile we really liked at about $1/square foot, and there was hardly any left, and they weren't going to order more, and we started to think maybe we can do this after all.

So off we go to the blue home repair store in Nicholasville.

So excited about getting a new bathroom

The kids jumped in to help with demolition. Here Chloe is taking down the old towel rods.

AJ is removing the outlet and switch covers.

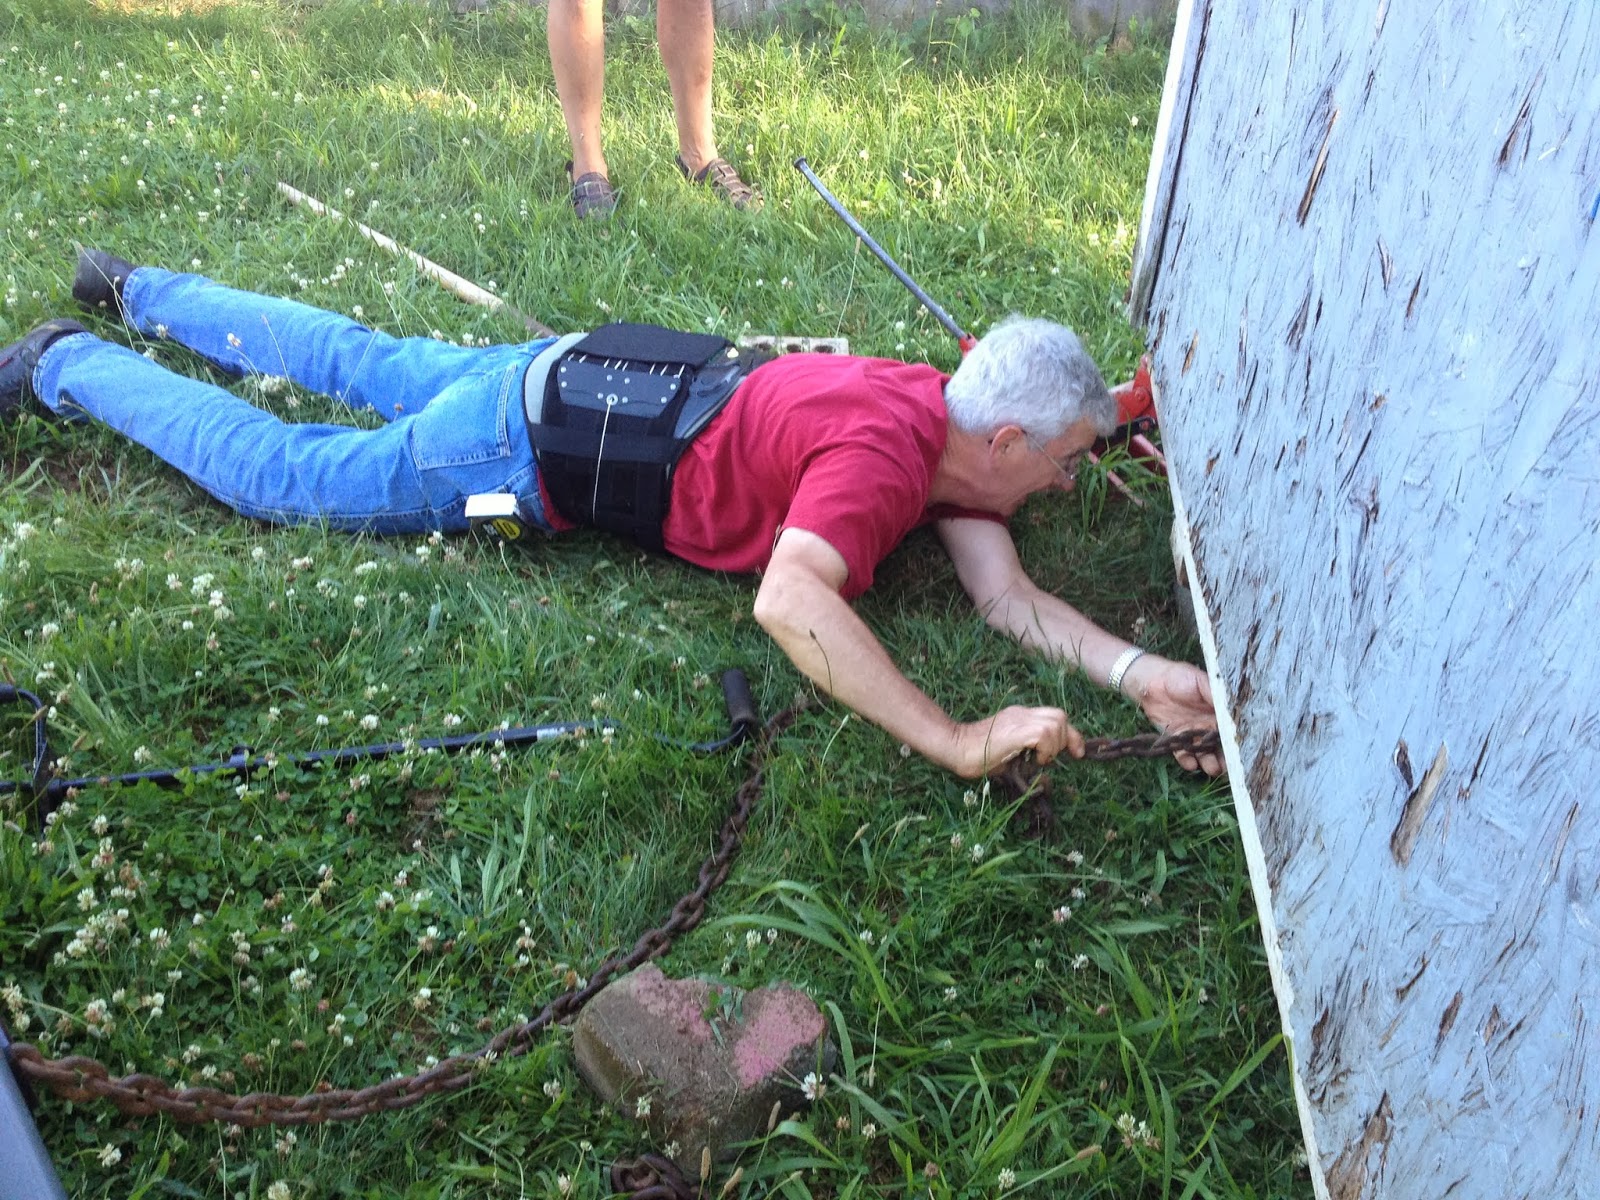
Dad is unhooking the plumbing from the sink.

And Chloe has had enough work and has switched to clowning.

AJ pulls out the baseboards.

And the vanity is out! We were going to take the mirror down, but couldn't pry it off the wall, so we figured it must've been glued up there. Fast forward to the middle of the night...CRASH! The mirror did not break, but it did break off the drain pipes back in the wall.

Our friendly neighborhood plumber fixed things up nice, but that was an unexpected expense.

Upon pulling up the wood laminate, we found this lovely linoleum.

Amy started painting the walls. We picked a shade of blue to match the sky in the safari pictures that hung on the wall. (Matt took the pictures himself in Kenya.) We only painted halfway down, because we wanted to install wainscoting all around the room.

Amy screwing down the concrete backing board

Matt is very proud of this cut to go around the air vent in the floor.

But the cutting is also very tedious work.

Down goes the tile!

Laid and spaced...about a 7 hour job.

And now grouted


Starting to cut and fit the wainscoting

We bought a new medicine cabinet that matched the vanity for some extra storage, and AJ put it together mostly by himself.

Of course, the girls wanted in on the fun too.

Finishing touches

Five people and one toilet is rough when you're used to two.

The sink has been re-plumbed and vanity installed.

And the toilet is back in place
And here is the finished project:


Just look at that beautiful floor!
For comparison, here are the before & afters:


We are definitely amateurs, and it is by no means perfect, but we are happy with how it turned out and are satisfied with the hard work we put into it.