Saturday, May 31, 2014

Another Saturday at Red River Gorge

Mom was at work on another Saturday, and Dad had a cookout to attend in Wolfe County as part of his involvement with New Hope International Ministries.  The kids were not particularly excited about going to a cookout when "we don't even know anybody there", but fortunately, the cookout was less than 10 miles from one of our favorite hiking locations - Red River Gorge.  So after the cookout we got out in to the 84-degree afternoon to do a little hiking.

AJ pauses to view the scenery on the Sky Bridge trail.

Chloe: "I just love walking on walls."

Three Kinnell kids atop Sky Bridge

Underneath Sky Bridge

Posing for a picture under the bridge

There is another smaller arch under the bridge - a perfect twin photo opportunity

The kids were really amazed by this little 3-inch hole that went all the way through the rock...

...you could look through and see out the other side.
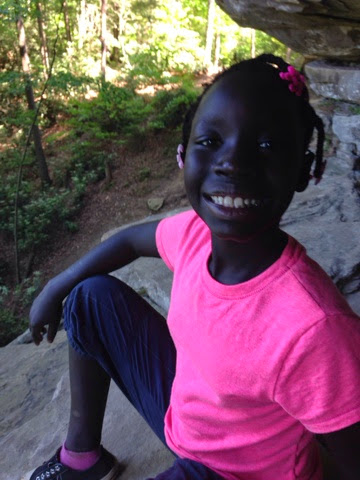
Chloe

AJ is the master of climbing on the rock formations.


The girls are getting much better - and bolder - at climbing around on the rocks.

Essie, who is the most nervous about climbing, was very proud to have reached this little ledge all by herself.

Now, how to get down?

The gorge has some really great places that can make a person feel very small.  I think that is what Chloe is contemplating here under this rock ledge.

Checking out the contents of a "bare" hole.  (As opposed to a bear hole...get it?)

Whistling Arch

Under Whistling Arch


Chloe

Essie

AJ found a tunnel to crawl through.  (The girls, of course, soon followed.) Good thing there weren't any snakes in there.


Essie plopped down to take a rest with Dad.


Overlooking Devil's Canyon from above Whistling Arch

A fun couple of hours of hiking to make up for the couple of hours of forced social interaction

Monday, May 26, 2014

The Expansion of the Homestead

We've been harboring some fugitives on the homestead and now that they are settled in their new home (and no longer on our property), I can tell you all about them. 


My Dad called me in mid-March and said, "I was at the feed store and their chicks are half price so I figured I'd pick you up half a dozen."


He brought them down in early April when they were about 4 weeks old.  Since its was still quite chilly, we put them in the greenhouse.


Soon enough, they decided the were too old for the heat light.
I've got seedlings in the boxes so had to cover them with the fence panels to keep the chicks out (learned that one the hard way).

On warm, sunny days, they enjoyed some time out in the chicken tractor.

They quickly leaned how to escape the chicken tractor.

And became quite nosy

Peaking into the neighbor's yard

And they quickly figured out how to get into places I thought I fenced them out of

Chick Selfie

When my parents came down for AJ's birthday in early May, my Dad's one assignment was to build a new coop for these little ladies and get them moved to their new home in my neighbor's yard (since our town ordinance is only 6 poultry per yard). 

My dad brought these old fencing panels that someone had given him.  They were still in decent shape for the most part.  We racked our brains the week before Dad came down to try and figure out a roof for a typical square structure.  In the end, I said, "why don't we just make an A-frame." And so it began.

First we had to tear off some of the unusable boards

And pull out about a thousand nails-good thing we had a 12 year old boy around =)

We trimmed down the panels to the 2x4 supports

We placed the floor on skids that we made from some of the 4x4 post that had anchored the fence to the ground.

Dad then drilled a hole through the skid in case we ever need to move the coop-you know, like when I get a farm where I can have all the chickens in the world without some neighbor turning me into the cops (oh, did I say that out loud). 

AJ making sure Grandpa is doing it correctly.

Angling 2x4s on top for a better fit


We lined up another panel to make the front of the coop

We added supports to make a people door

Door hinges attached and supports in place

Then we just used a circular saw to cut the places we wanted to for the door

On the opposite side, we added supports to make the access door for the chickens to go in and out of each day.

Next we made a yard for the chicks

Coop all done and ready for the new chicks

We found a tree branch and installed it as a roost and let the girls in.
They hopped up on the roost first thing.

And then decided that hopping up on things was really fun.

The babies have been in the new coop almost a month now, and I am still loving it.  I've christened it The Daniel Boone Coop since it looks like something from pioneer days.  I thought I'd need some linoleum or something on the floor to keep the shavings in place.  I didn't have any on hand so I put an old sign under the roost since I figured that is where most of the droppings would be.  So far its working.  I covered the outside of the coop from north to south with greenhouse plastic so keep the rain out.  So far, the north side is still getting wet when it rains hard, but it dries out very quickly since there is good air movement from the space between the slats. 

The new girls are growing fast.  It seems like they double in size over night.